Getting started
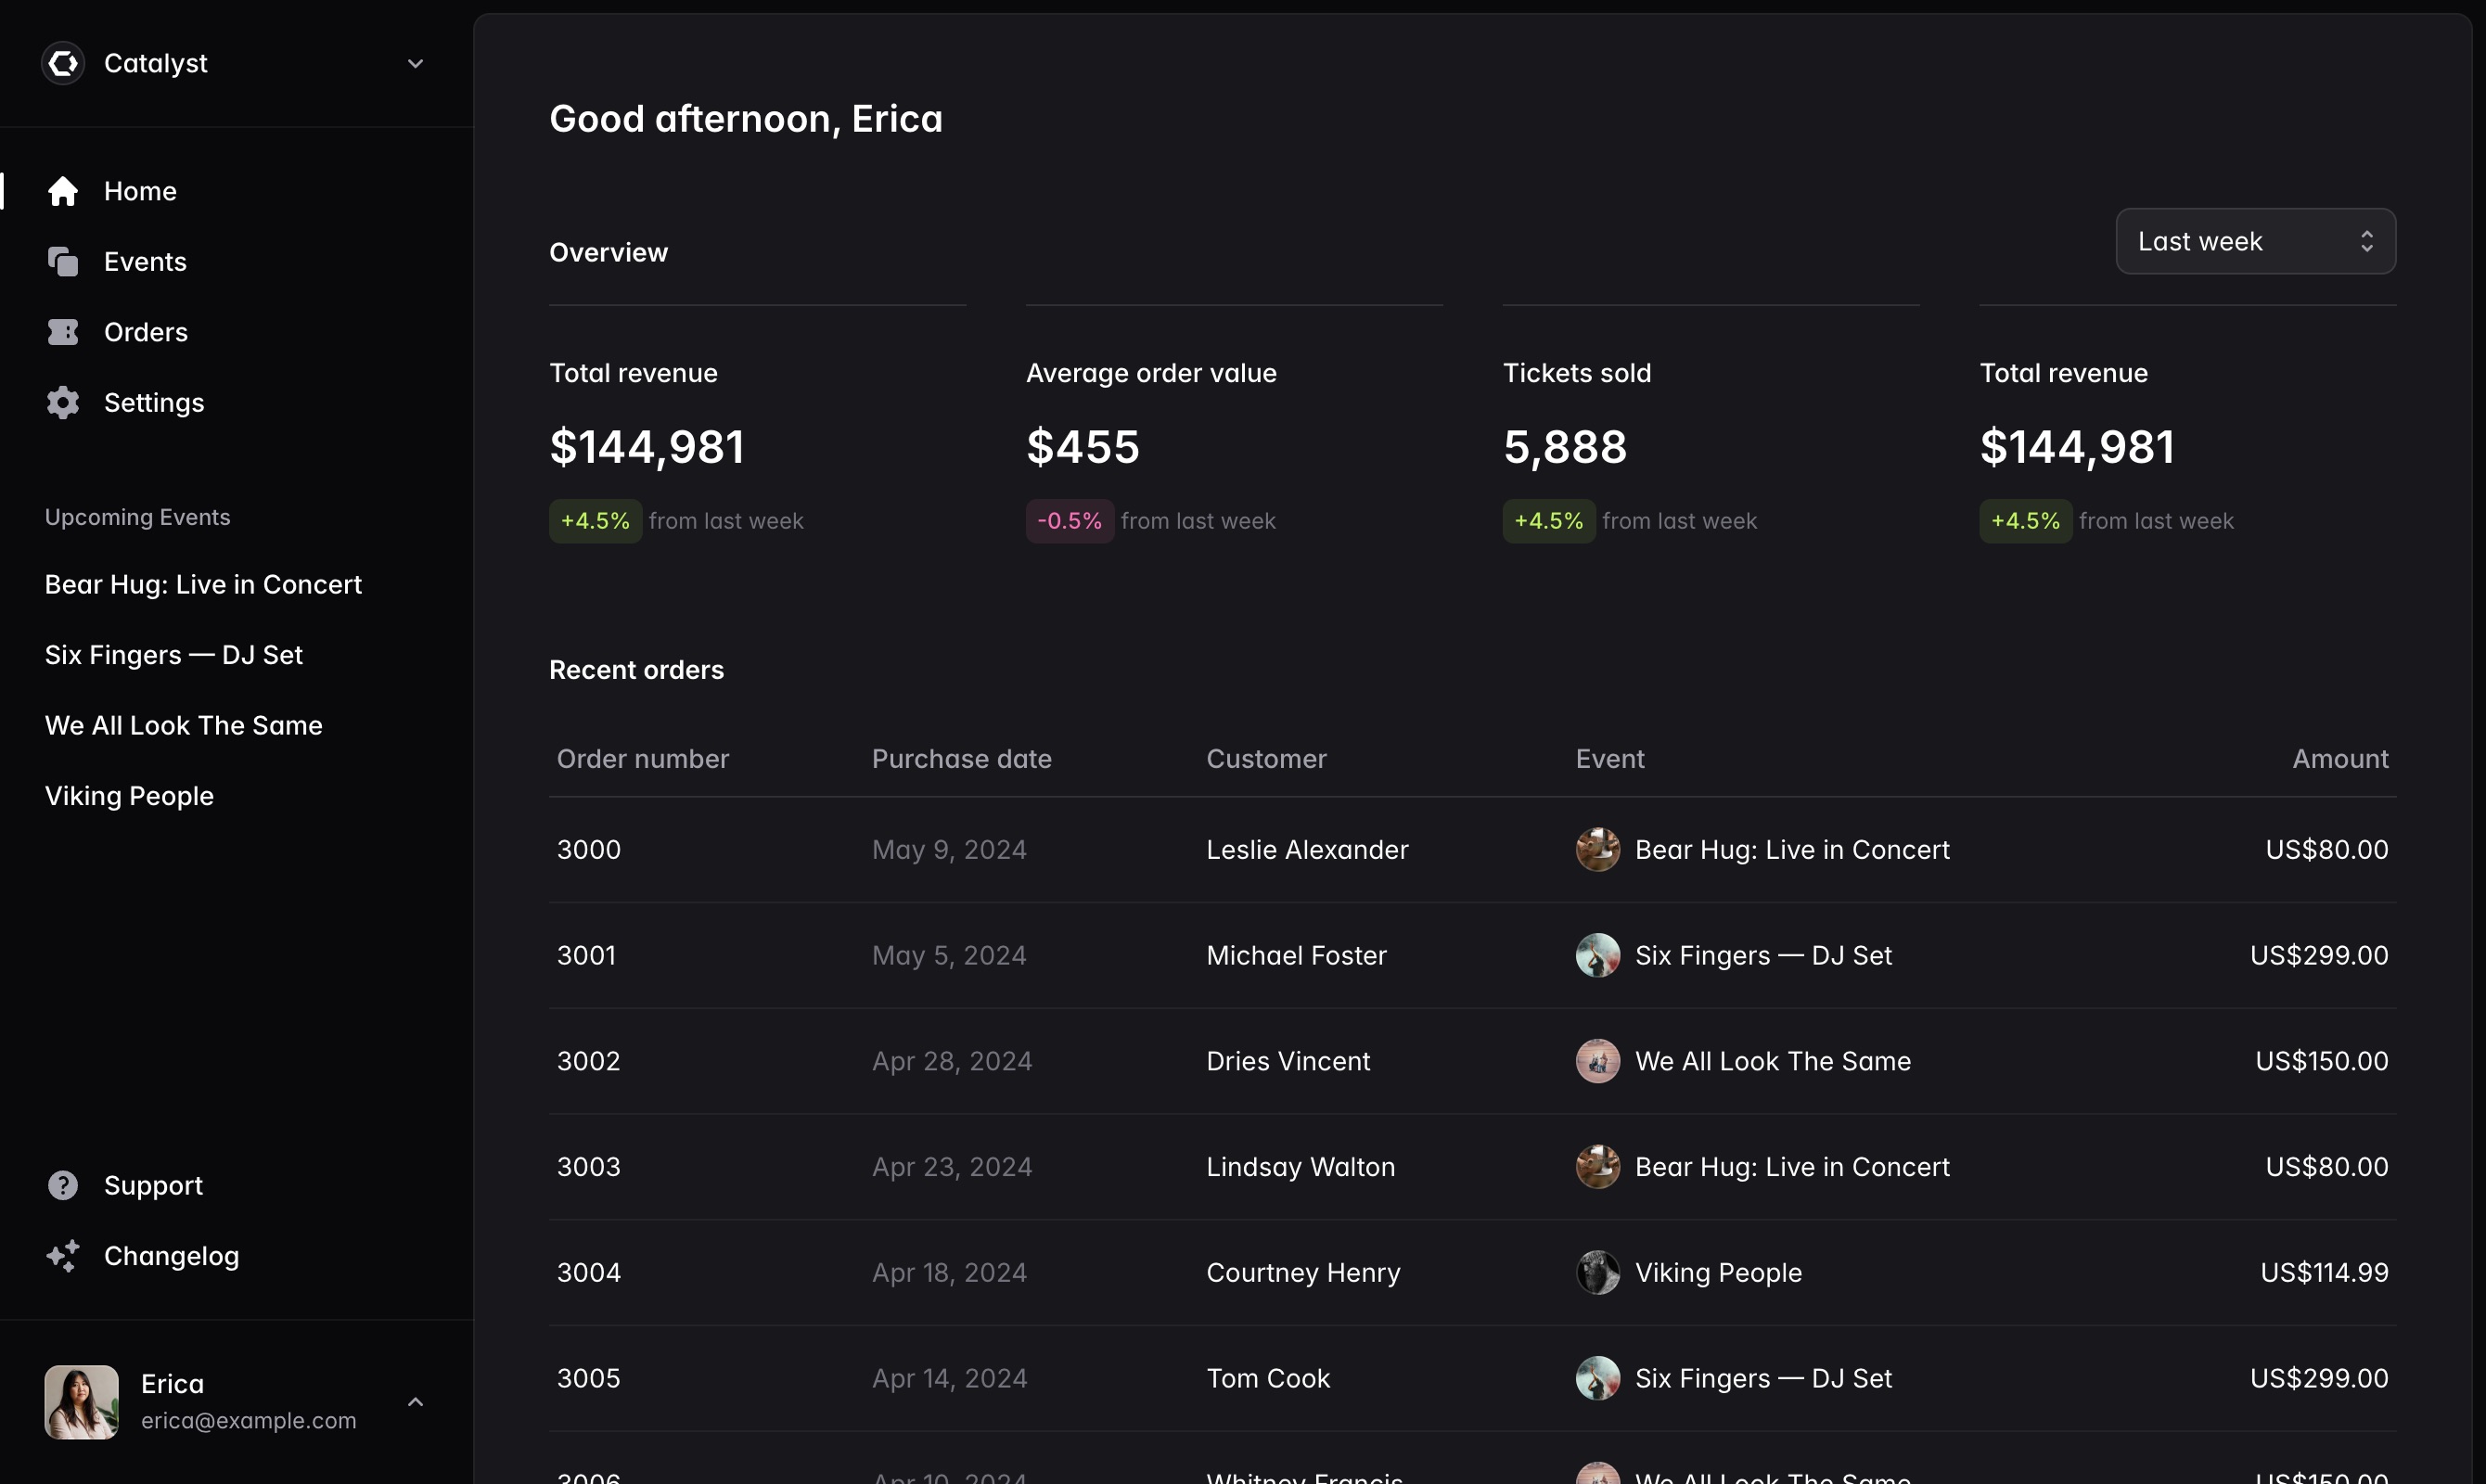
Catalyst is a starter kit for building your own component systems with React and Tailwind CSS — designed and developed by the Tailwind CSS team. It's a collection of beautiful, production-ready UI components you drop into your projects alongside your own code that are yours to customize, adapt, and make your own. This is the Svelte port of the Catalyst UI Kit.

Before you start
Before you do anything else, make sure you've got a Tailwind CSS project set up that you'd like to use with Catalyst.
For help creating a project and configuring Tailwind CSS, check out the SvelteKit guide in the Tailwind CSS documentation.
Catalyst is built around Tailwind's default theme configuration and relies on the default spacing scale, color palette, shadow scale, and more. You're of course free to customize anything you like, but you won't get the expected results out-of-the-box if you've made significant changes to the default theme and will need to edit the components to adapt them for your customizations.
Adding Catalyst to your project
To get started with Catalyst, first download the latest version from within your Tailwind UI account.
Then, unzip catalyst-ui-kit.zip and copy the component files from either the javascript or typescript folders into wherever you keep components in your own project:

Installing dependencies
Next install the dependencies used by the components in Catalyst:
npm install bits-ui clsxCatalyst is also designed for the latest version of Tailwind CSS, which is currently Tailwind CSS v4.0. To make sure that you are on the latest version of Tailwind, update it via npm:
npm install tailwindcss@latestOptional: Setup Inter font family
We've designed Catalyst using Inter to ensure that the components look the same in all browsers and operating systems.
The easiest way to add Inter is by pointing a <link> tag to the CDN in your app.html file:
<link rel="stylesheet" href="https://rsms.me/inter/inter.css" />Then update the --font-sans theme variable in your project to use Inter:
@theme {
	--font-sans: Inter, sans-serif;
}
Optional: Install Heroicons
We're using our own Heroicons icon set in Catalyst any time we need icons, and Heroicons has been designed to integrate seamlessly with Catalyst projects.
If you'd like to use Heroicons in your own projects, you can install unplugin-icons and the @iconify-json/heroicons set of icons via npm:
npm install unplugin-icons @iconify-json/heroiconsAnd register the vite plugin in your vite.config.js file:
import Icons from 'unplugin-icons/vite';

export default defineConfig({
	plugins: [
		Icons({
			compiler: 'svelte'
		})
	]
});
Most components in Catalyst — like the Button, DropdownItem, and ListboxOption components — are designed to work best with 16×16 icons, so for these components import the icons you need from virtual:icons/heroicons/ with -16-solid appended to the end of the icon name:
<script>
	import { Button } from '$lib/components/button';
	import PlusIcon from 'virtual:icons/heroicons/plus-16-solid';
</script>

<Button>
	<PlusIcon />
	Add item
</Button>
The only exceptions are the NavbarItem and SidebarItem components which are designed for 20×20 icons. For these components, append -20-solid to the end of the icon name:
<script>
	import { SidebarItem, SidebarLabel } from '$lib/components/sidebar';
	import HomeIcon from 'virtual:icons/heroicons/home-20-solid';
</script>

<SidebarItem href="/home">
	<HomeIcon />
	<SidebarLabel>Home</SidebarLabel>
</SidebarItem>